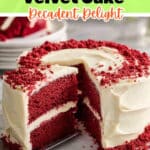
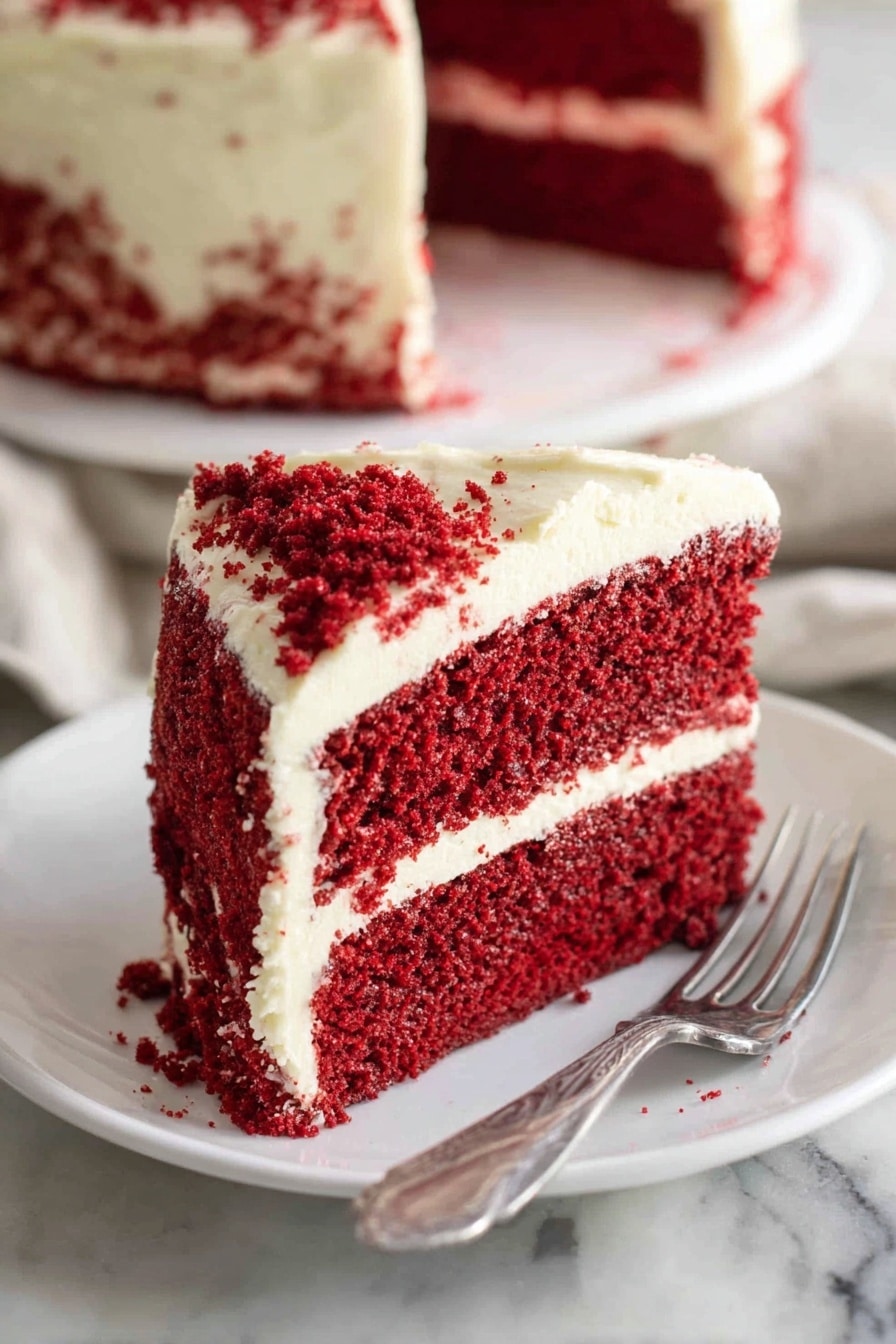
If you’ve been on the hunt for the ultimate, melt-in-your-mouth Red Velvet Cake Recipe, look no further. This one genuinely has it all: vibrant color, rich flavor, and that classic tender crumb you know and love. I first tried this recipe when I wanted to impress some friends, and trust me, it stole the show every single time. Stick with me, and I’ll walk you through every step so you’ll nail it too. Ready to bake something truly special? Let’s dive in!
Why You’ll Love This Recipe
- Vibrant, Deep Red Color: The perfect shade thanks to just the right amount of red food coloring and cocoa powder.
- Moist, Tender Crumb: The blend of buttermilk, oil, and vinegar creates an incredibly soft texture that stays fresh.
- Classic Cream Cheese Frosting: Silky, tangy, and fluffy frosting that’s never too sweet.
- Beginner-Friendly: Clear steps with practical tips for baking success every time.
Ingredients & Why They Work
Every ingredient in this Red Velvet Cake Recipe plays a star role, creating that signature flavor and texture. When picking out your ingredients, aim for freshness and quality to get the best results. Here’s the breakdown:
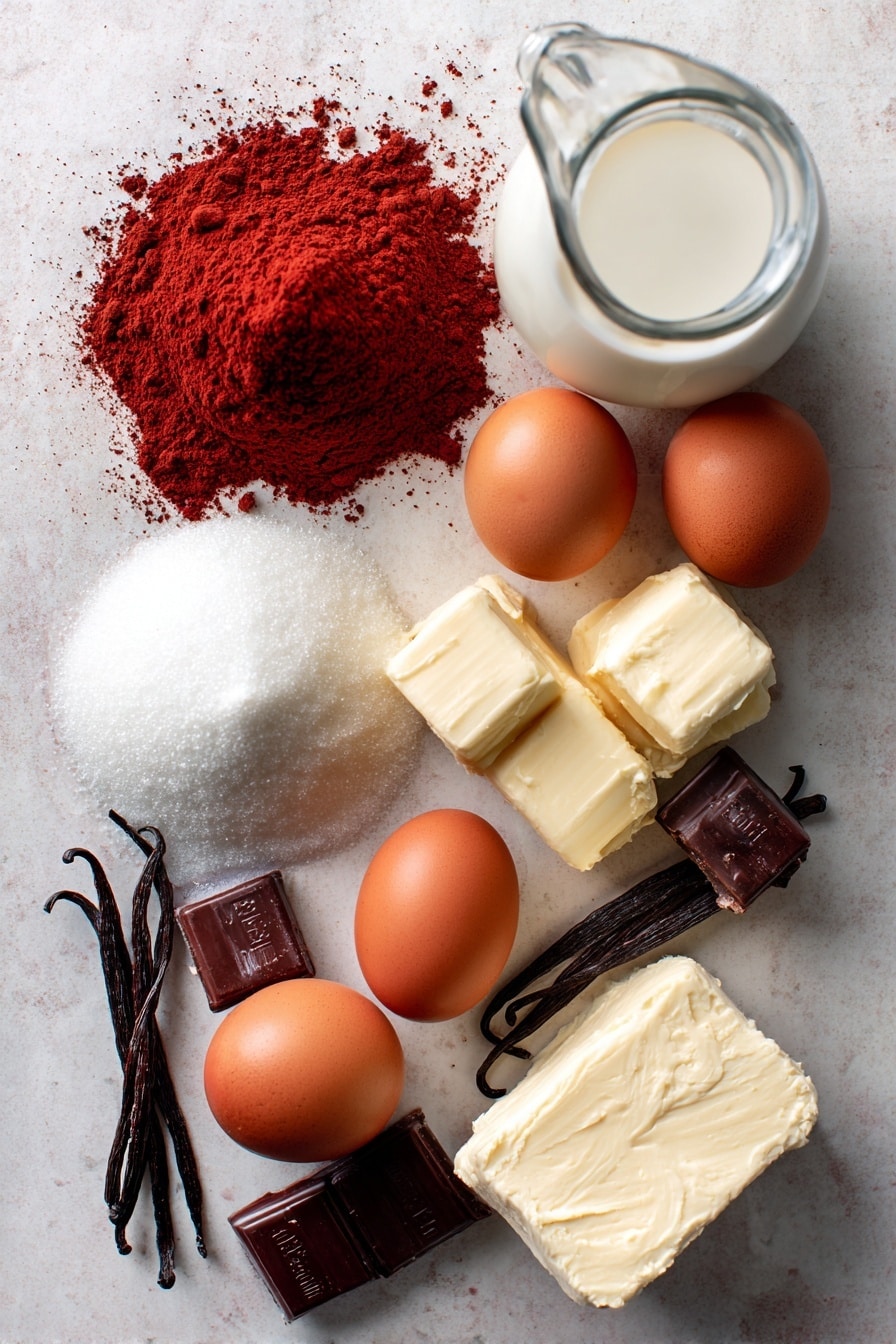
- Cake Flour: Opt for cake flour over all-purpose for a finer, softer crumb. It’s less protein-heavy, so the cake stays tender.
- Cocoa Powder: Unsweetened cocoa adds a subtle chocolate hint that balances perfectly with the tangy frosting.
- Baking Soda: This is key for that slight leavening and helping the cake rise evenly; avoid baking powder for this recipe.
- Butter: Using unsalted butter lets you control the salt level and keeps flavors pure.
- Sugar: I recommend caster or superfine sugar so it dissolves smoothly and keeps the batter velvety.
- Eggs: At room temperature they mix more evenly, helping the batter stay stable and rise nicely.
- Vegetable Oil: Adds moisture and richness without weighing the cake down.
- White Vinegar: Helps activate the baking soda and works with buttermilk to tenderize the crumb.
- Vanilla Extract: Enhances all flavors without overpowering the cake’s delicate balance.
- Buttermilk: Provides acidity for tenderness and a slight tang that sets velvet cake apart.
- Red Food Coloring: Liquid red coloring provides that iconic hue; use good quality for vivid but natural-looking color.
- Cream Cheese: For frosting, fresh, block-style cream cheese gives richness and tang without runniness.
- Icing Sugar: Sifted powdered sugar sweetens the frosting but keeps it smooth and fluffy.
Note: Exact ingredients and measurements are listed in the recipe card below.
Make It Your Way
One of the things I enjoy most about this Red Velvet Cake Recipe is how easy it is to tweak it just a bit to suit your mood or occasion. Whether you want it fuss-free or fancy, there’s room for your personal touch.
- Variation: I sometimes swap vanilla extract for a splash of almond extract for a subtle twist that surprises guests without overwhelming the classic flavor.
- Dietary Modifications: For a lighter option, try swapping half the oil for Greek yogurt—but be aware it slightly changes the crumb.
- Seasonal Topper: Around the holidays, I love adding crushed peppermint candy or fresh berries to the frosting for a festive flair.
- Difficulty Level: If you’re baking for the first time, just focus on mixing gently when adding the dry ingredients—that’s a great way to prevent a tough cake.
Step-by-Step: How I Make Red Velvet Cake Recipe
Step 1: Prep Like a Pro
Before you do anything else, preheat your oven to 180°C (350°F) — this is crucial to ensure your cake bakes evenly from the moment it goes in. Then, butter your two 8-inch round cake pans really well, get in there with your fingers, and dust them with cocoa powder instead of flour. This step helps the cake pop out cleanly with that beautiful velvety red on display and avoids white dust marks.
Step 2: Mix Your Dry Ingredients
Next, sift together the cake flour, cocoa powder, baking soda, and a pinch of salt in a big bowl. Sifting here doesn’t just avoid lumps—it aerates the flour, which helps keep the cake light and fluffy.
Step 3: Cream the Butter and Sugar
Grab your mixer and beat the softened butter and superfine sugar until the mixture looks smooth, creamy, and well combined. This process traps air in, which is part of what makes the texture so tender. If you’re using a stand mixer, the paddle attachment is your best friend here.
Step 4: Add the Eggs Gently
Add eggs one at a time, beating well after each addition. It might look a little curdled or separated at first—that’s totally normal! Just keep beating, and it will come together into a lovely smooth batter.
Step 5: Pour in the Wet Ingredients
Now, pour in the vegetable oil, white vinegar, vanilla extract, buttermilk, and red food coloring. Beat everything together until the mixture is uniform and velvety smooth. It’s the perfect time to sneak a little taste (not too much)—you’ll already get that hint of tangy chocolate magic coming through.
Step 6: Fold in Dry Ingredients
Add your dry ingredient mixture in batches, beating just until combined each time. Don’t overmix here—some tiny lumps are absolutely fine. Trust me, this is how you keep the cake soft and not tough.
Step 7: Bake and Cool
Divide the batter evenly between your two prepared pans and pop them into the oven on the same shelf. Bake for about 25 to 30 minutes, but start checking around 25 minutes: a toothpick inserted into the center should come out clean or with a few moist crumbs but no wet batter. Let the cakes rest in the pans for 10 minutes, then carefully turn them out onto wire racks to cool completely—this step is key for easy frosting later.
Step 8: Whip the Perfect Frosting
For the frosting, beat cream cheese, softened butter, and vanilla extract on medium-high speed for about 3 minutes until it’s super smooth and almost white in color—this little trick helps keep it luscious without a yellow tint. Then gradually add sifted icing sugar and beat for another 2 minutes or until fluffy. If your frosting feels too soft or runny, just add some more icing sugar until it’s firm enough to spread but still creamy.
Step 9: Assemble Your Masterpiece
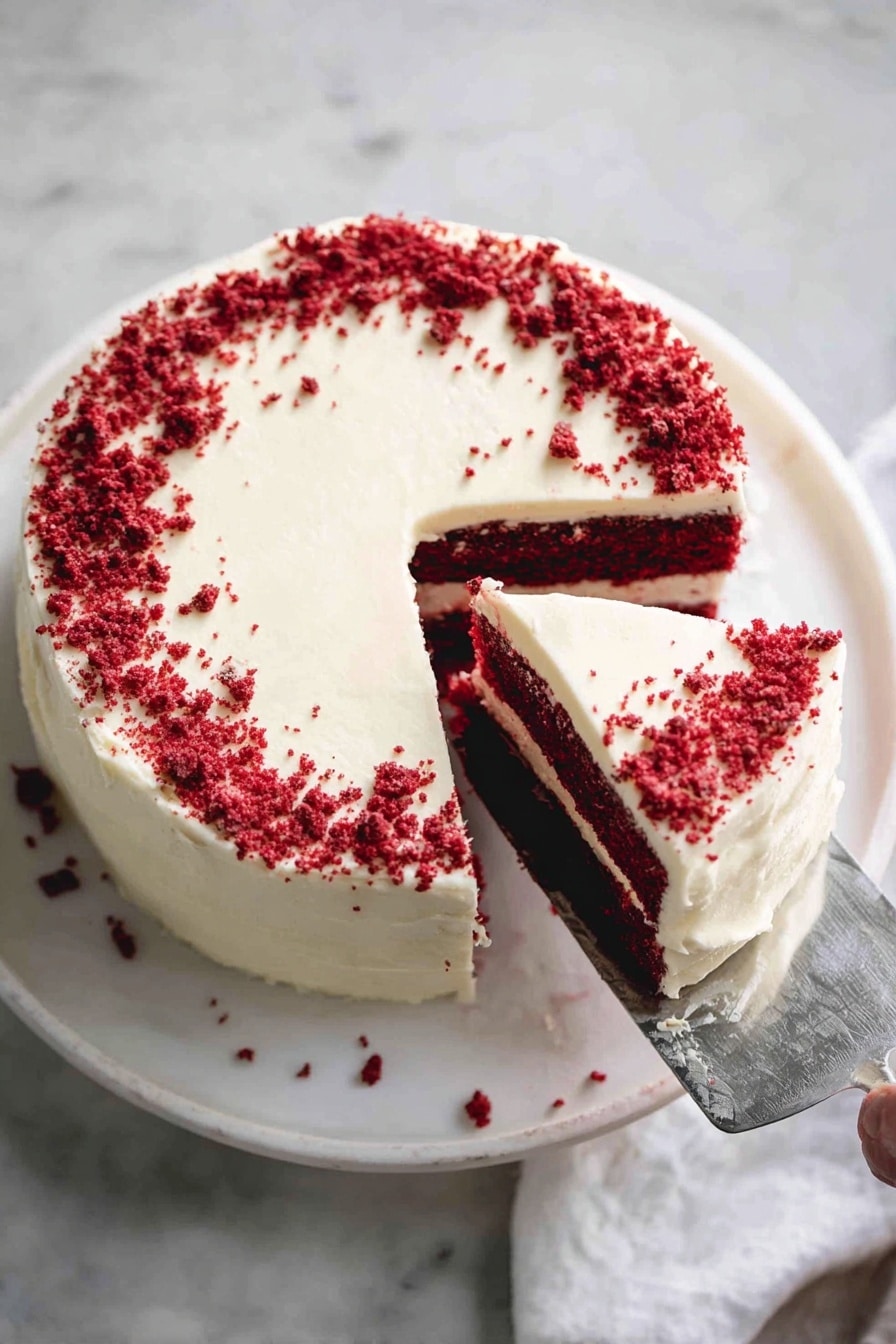
Trim the tops off the cakes with a serrated knife to level them out—that neat layer stack looks stunning and helps your frosting stick nicely. Spread about one and a half cups of frosting on one cake layer, place the second layer on top, then cover the whole cake with the remaining frosting. If you like, crumble any trimmed cake edges and press them onto the sides or base for a rustic, charming finish.
Pro Tips for Making Red Velvet Cake Recipe
- Quality Cake Flour: I’ve found that cake flour really makes a difference in texture—don’t skip this for all-purpose!
- Keep Your Cream Cheese Cool: If your frosting is too soft, it could be your cream cheese being too warm, so chill it a bit before frosting.
- Don’t Overmix Dry Ingredients: Stir just enough to combine to avoid a heavy cake texture.
- Use Cocoa Powder, Not Chocolate: It gives the cake the perfect hint of chocolate without making it too dense.
How to Serve Red Velvet Cake Recipe
Garnishes
Personally, I love the simple elegance of a few fresh raspberries or a sprinkle of edible rose petals on top—adds a touch of color and a fresh bite. Sometimes, I crumble some toasted pecans on the sides for a little crunch contrast, especially when serving at a party.
Side Dishes
Because this cake is rich, I enjoy pairing it with a light, tangy fruit salad or a dollop of fresh whipped cream. A cup of strong coffee or black tea is my go-to beverage to balance the sweetness just right.
Creative Ways to Present
For birthdays or celebrations, I’ve stacked mini cupcakes using this same batter, frosting each like tiny cakes—super fun and impressive. Or, try serving individual cake jars layered with frosting and fresh berries; it’s an instant crowd-pleaser with a modern twist.
Make Ahead and Storage
Storing Leftovers
Once frosted, I store the cake covered in the fridge, ideally in an airtight cake keeper. It keeps fresh for about 3 to 4 days that way. If I know I won’t finish it soon, I slice leftovers into portions and wrap each in plastic wrap for convenience.
Freezing
This cake freezes beautifully! I wrap unfrosted layers tightly in cling film and foil, then freeze for up to 2 months. When ready to serve, thaw in the fridge overnight before frosting. This method keeps the cake moist and fresh, no dry edges.
Reheating
While I usually enjoy this cake cold, if you want it a bit warm, I recommend a quick zap in the microwave for about 10 seconds per slice—just enough to soften the frosting slightly but not melt it. It’s like having a cozy, fresh-baked treat all over again.
FAQs
-
Can I substitute buttermilk in this Red Velvet Cake Recipe?
Yes, you can substitute buttermilk by mixing 1 cup of milk with 1 tablespoon of white vinegar or lemon juice. Let it sit for 5 minutes to curdle before adding to your batter. This helps keep the cake tender with that signature tang.
-
Why does the cake sometimes taste more like chocolate than red velvet?
Red velvet is all about balance. Using too much cocoa powder or dark chocolate can overpower the mild cocoa and tangy flavor characteristic of red velvet. Stick to unsweetened cocoa powder and the recipe’s specified amount for that subtle, unique taste.
-
How to prevent the cream cheese frosting from being runny?
Make sure your cream cheese and butter are softened but still cool—not melted or overly soft. Also, add the powdered sugar gradually, beating until you reach the desired thickness. If it’s still too soft, a little extra powdered sugar will help.
-
Can I make this recipe gluten-free?
Absolutely! Use a 1:1 gluten-free baking flour blend intended for cakes. Keep an eye on texture, as some gluten-free flours absorb liquids differently. You might need to adjust buttermilk slightly for best results.
Final Thoughts
Honestly, this Red Velvet Cake Recipe has become my go-to when I want to bake something memorable without it being intimidating. It’s got that perfect mix of classic flavors with a surprisingly simple process. I hope you enjoy making it as much as I do—and that it becomes a favorite at your gatherings, big or small. Just remember: have fun with it, relax, and savor every bite. You deserve that!
Print
Red Velvet Cake Recipe
- Prep Time: 30 minutes
- Cook Time: 30 minutes
- Total Time: 1 hour
- Yield: 10 servings
- Category: Dessert
- Method: Baking
- Cuisine: American
Description
This classic Red Velvet Cake recipe features a moist and tender chocolate-flavored cake with vibrant red coloring, layered and frosted with a smooth and creamy Philadelphia cream cheese frosting. Perfect for special occasions or any celebration, it combines rich flavors with a striking appearance.
Ingredients
Dry Ingredients
- 2 2/3 cups (400 g) plain cake flour
- 2 tbsp (10 g) cocoa powder, unsweetened
- 1 tsp (5 g) baking soda (NOT baking powder)
- Pinch of salt
Wet Ingredients
- 1/2 cup (115 g) unsalted butter, softened
- 1 1/2 cups (330 g) caster/superfine white sugar
- 2 eggs, at room temperature (around 2 oz / 60 g each)
- 1 cup (250 ml) vegetable oil
- 1 tsp white vinegar
- 2 tsp vanilla extract (or essence)
- 1 cup (250 ml) buttermilk, at room temperature
- 2 1/2 tbsp red food colouring liquid
Frosting
- 14 oz (400 g) Philadelphia Cream Cheese, block, softened but not too soft
- 1/2 cup (115 g) unsalted butter, softened (but not too soft)
- 1 1/2 tsp vanilla extract
- 4 cups (450 g) soft icing sugar / powdered sugar, sifted
Instructions
- Preheat and prepare pans: Preheat your oven to 180C/350F. Butter two 21 cm (8 inch) round cake pans on the sides and base, then dust with cocoa powder to prevent sticking.
- Sift dry ingredients: In a bowl, sift together the plain cake flour, cocoa powder, baking soda, and salt. Whisk to combine evenly.
- Cream butter and sugar: Place the softened unsalted butter and superfine sugar in a bowl and beat using an electric mixer or stand mixer with paddle attachment until smooth and well combined.
- Add eggs: Add the eggs one at a time to the butter mixture, beating well after each addition. The mixture may look curdled initially – continue beating until it becomes smooth.
- Add wet ingredients: Blend in the vegetable oil, white vinegar, vanilla extract, buttermilk, and red food colouring. Beat until the batter is smooth and uniform in color.
- Combine dry and wet ingredients: Gradually add the sifted dry ingredients to the wet mixture. Beat gently until just combined; some small lumps are acceptable to avoid overmixing.
- Divide and bake: Split the batter evenly between the prepared cake pans. Bake on the same oven shelf for 30 minutes or until a toothpick inserted into the centers comes out clean.
- Cool the cakes: Let the cakes rest in the pans for 10 minutes. Then turn them out onto a wire rack and allow to cool completely before frosting.
- Prepare frosting: Beat together the softened cream cheese, softened butter, and vanilla extract for 3 minutes until very smooth and nearly white. Gradually add sifted icing sugar and beat for about 2 minutes until the frosting is light and fluffy. Add more icing sugar if the frosting is too runny.
- Assemble the cake: Using a serrated knife, level the tops of the cakes if needed. Spread about 1 1/2 cups of frosting on one cake layer, then place the other cake layer on top. Frost the top and sides of the cake with remaining frosting.
- Decorate (optional): Crumble any cake offcuts and use them to decorate the top rim and base of the cake for a rustic finish.
Notes
- Room temperature ingredients help ensure smooth mixing and proper texture.
- Don’t overmix the batter once combined with dry ingredients to keep the cake tender.
- If cream cheese is too soft or warm, add more icing sugar to thicken the frosting.
- Use a serrated knife for cleanly leveling cake layers without tearing.
- Allow cakes to cool completely before frosting to prevent melting and sliding.
- Red food coloring can be adjusted to achieve desired color intensity.
- This cake keeps well refrigerated and tastes even better the next day.


