If you love the classic comfort of deviled eggs but crave something with a little extra oomph, you’re going to adore this Deviled Eggs Deluxe Recipe. It takes those simple halved eggs and transforms them with a delightful mix of finely chopped celery, sweet onion, a bit of tangy mayo, and just the right kick of Tabasco. Trust me, once you try this version, regular deviled eggs will feel like they’re missing something. Stick with me, and I’ll walk you through exactly how to make these perfect little bites every time!
Why You’ll Love This Recipe
- Perfectly Balanced Flavors: The mix of celery and sweet onion adds crunch and sweetness that perfectly complements the creamy yolk filling.
- Customizable Heat Level: With Tabasco, you control just how spicy these deviled eggs get, making them kid-friendly or party-ready.
- Easy Yet Stunning Presentation: Using a piping bag elevates the look to something special, impressing guests with minimal effort.
- Reliable and Foolproof: The method I share for boiling and peeling eggs ensures you never deal with rubbery whites or stubborn shells again.
Ingredients & Why They Work
Each ingredient in this Deviled Eggs Deluxe Recipe plays a key role in creating that perfect bite. I always look for the freshest eggs and the smallest dice on my veggies to keep the texture just right — it really does make all the difference!
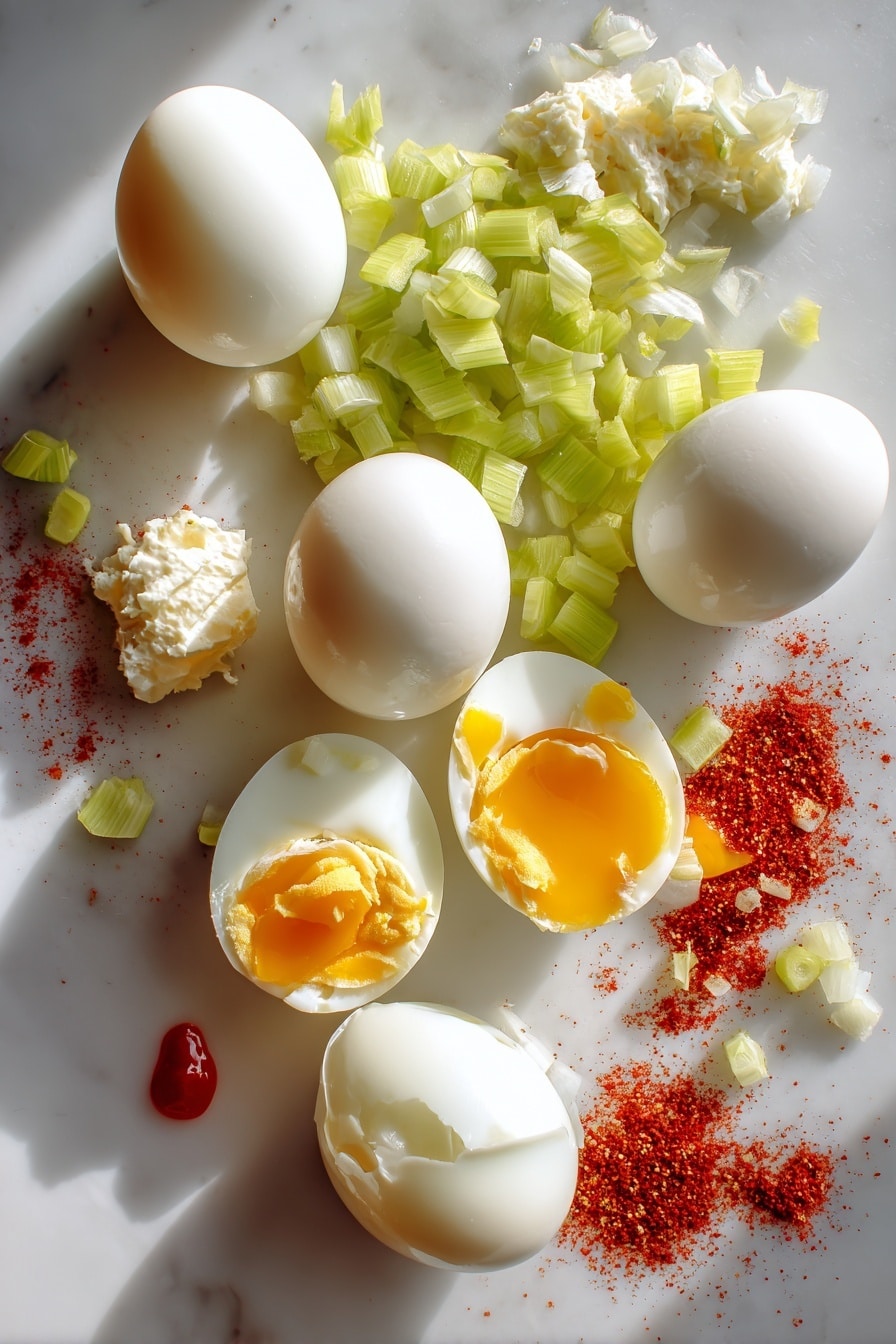
- Eggs: The base of your deviled eggs—fresh eggs ensure tender whites and rich yolks.
- Celery: Adds a crunchy texture and subtle freshness that balances the creamy filling.
- Sweet Onion: Brings just a touch of mild sweetness and a bit of bite without overpowering the other flavors.
- Mayonnaise: The creamy binding agent—feel free to use low-fat for a lighter version.
- Salt: Enhances all the ingredients and brings out their natural flavors.
- Tabasco: Just a dash heats things up, and you can adjust it to suit your taste.
- Paprika: Not just for garnish—adds subtle smokiness and a pop of color.
Note: Exact ingredients and measurements are listed in the recipe card below.
Make It Your Way
I love tweaking my Deviled Eggs Deluxe Recipe depending on the occasion—sometimes I pack in a bit more Tabasco for a spicy twist, other times I swap sweet onion with chives or scallions for a sharper hit of flavor. Don’t be shy about making it yours!
- Variation: When I’m feeling indulgent, I like to add a teaspoon of Dijon mustard to the filling—it gives a little extra tang that’s absolutely delicious.
- Dietary Modifications: To keep it lighter, substitute Greek yogurt for mayo—a different texture but still creamy and flavorful.
- Seasonal Changes: During summer, I sometimes toss in finely chopped fresh herbs like dill or parsley for a garden-fresh vibe.
Step-by-Step: How I Make Deviled Eggs Deluxe Recipe
Step 1: The Perfect Boil
Start by placing your eggs in a medium saucepan and covering them with cold water. Bring the water to a boil over medium-high heat, but here’s the trick: as soon as it boils, remove it from the heat and cover the pan. Let the eggs sit in the hot water for exactly 15 minutes. This gentle, carryover heat cooking helps you avoid rubbery whites and green yolk edges—something I’ve learned after many boiled egg experiments!
Step 2: Cooling and Peeling
Once the 15 minutes are up, pour out the hot water and immediately run cold water over the eggs or pop them into an ice bath for 5 minutes. This cool-down step stops the cooking and makes peeling way easier. I like to gently tap and roll each egg to loosen the shell before peeling under running water—it saves a lot of frustration!
Step 3: Preparing the Filling
Slice the eggs lengthwise and carefully scoop out the yolks into a bowl. Now mash those yolks with finely chopped celery, sweet onion, mayo, salt, and a dash of Tabasco. I like the filling chunky with the celery, so don’t over-mash. Taste as you go, because a little more salt or heat might just make it perfect for you.
Step 4: Filling and Presentation
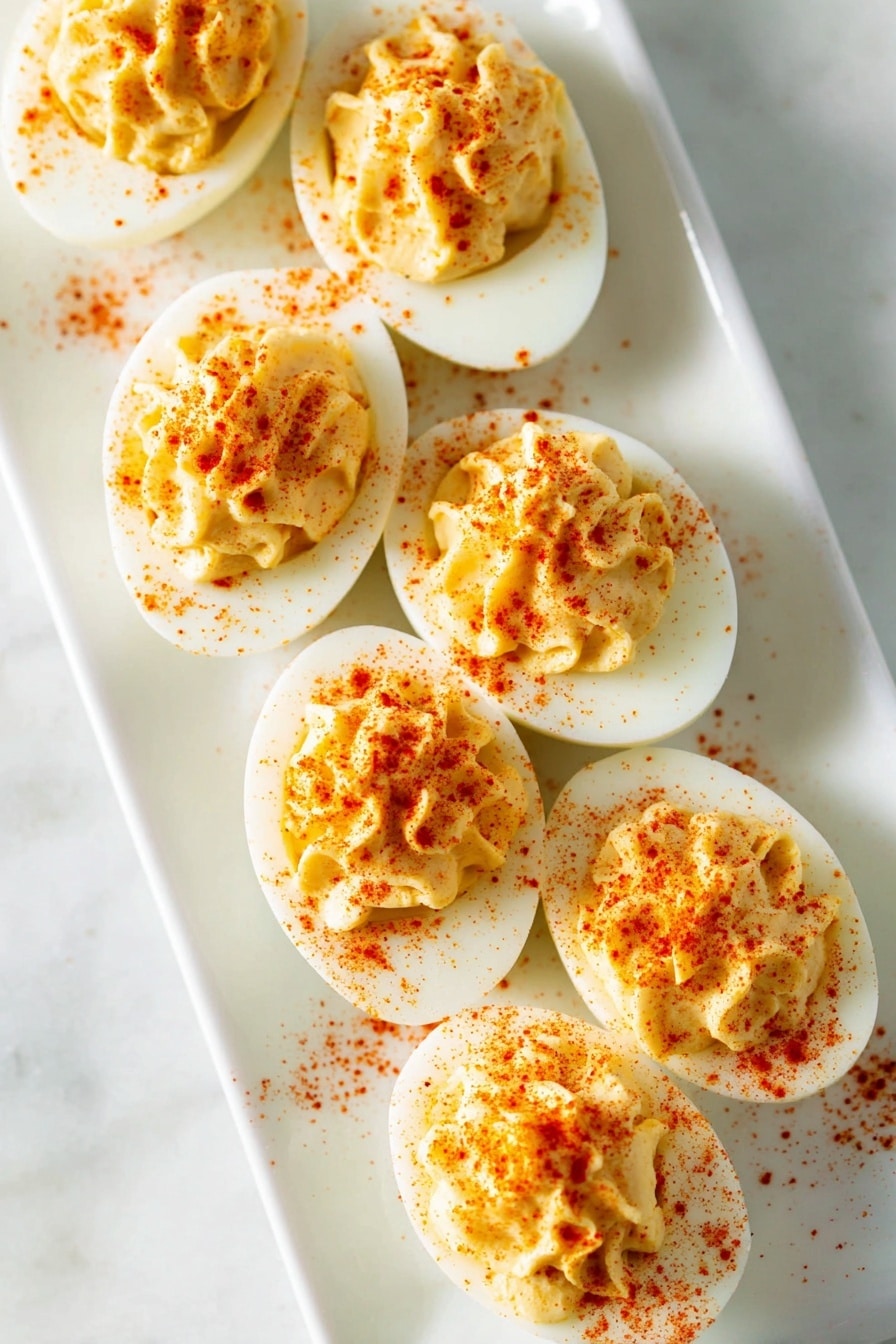
Spoon the yolk mixture back into the egg whites or, for a polished look, pipe the filling into each half using a wide icing tip. This is one of my favorite moves for parties because it looks elegant but takes the same amount of time as spooning—win-win! Finish by sprinkling paprika on top for that classic color and a hint of smoky flavor.
Step 5: Chill and Serve
Cover your tray of Deviled Eggs Deluxe and chill them in the refrigerator until you’re ready to serve—an hour or two is perfect to let the flavors meld. I’ve found that chilled deviled eggs taste even better, so don’t skip this step!
Pro Tips for Making Deviled Eggs Deluxe Recipe
- Egg Boiling Perfection: Use fresh eggs but not too fresh—eggs that are a week old peel easier than brand new ones.
- Finely Dice for Texture: Make sure your celery and onion are chopped finely but not mushy, so the filling gets great texture without overpowering the smoothness.
- Wide Icing Tip for Piping: Use a large round tip or a zip-top bag with the corner snipped wide—it prevents chunky bits from clogging the bag.
- Adjust Seasoning Last: Taste the filling before stuffing and adjust salt and Tabasco—you can always add more but never less!
How to Serve Deviled Eggs Deluxe Recipe

Garnishes
I’m a big fan of the classic paprika sprinkle because it adds that vintage, irresistible look and a little smoky flavor. Alternatively, finely chopped chives or fresh dill can brighten things up if you want something extra special.
Side Dishes
Deviled eggs are the perfect nibble alongside a crisp green salad or a bowl of fresh cut veggies. For a more substantial meal, I love serving this with some smoky grilled meats or a light pasta salad—great for potlucks or weekend cookouts.
Creative Ways to Present
For special occasions, I arrange the deviled eggs on a beautiful tiered platter lined with lettuce leaves to add green contrast. Adding edible flowers or microgreens on top can make them look truly festive, perfect for showers or holiday gatherings.
Make Ahead and Storage
Storing Leftovers
I store leftover deviled eggs in an airtight container in the fridge and usually eat them within 2 days. I find that they stay fresh and moist best when covered tightly to prevent drying out, and the flavors are just as vibrant the next day.
Freezing
I don’t recommend freezing deviled eggs—they tend to get watery or the texture of the filling changes. It’s better to make fresh for each occasion if you want that deluxe texture and flavor.
Reheating
Deviled eggs are best served cold or at room temperature. If you take them out of the fridge a little before serving, they’ll lose that chill but stay creamy and delicious—no reheating needed!
FAQs
-
Can I make Deviled Eggs Deluxe Recipe ahead of time?
Absolutely! You can prepare the eggs and the filling up to two days in advance. Just keep them separately—the whites chilled and covered, and the filling in an airtight container. Fill and garnish the eggs right before serving for the freshest presentation.
-
How do I peel hard-boiled eggs without messing up the whites?
After boiling, shock the eggs in an ice bath to cool them quickly. Then gently tap and roll them on a hard surface before peeling under running water to help remove the shell easily and keep the whites intact.
-
Can I use other spices instead of paprika for garnish?
Yes! While paprika gives a lovely smoky color, other options like smoked chili powder, cayenne, or even a sprinkle of fresh herbs like dill or chives work great if you want to mix things up.
-
Is this Deviled Eggs Deluxe Recipe gluten-free?
Yes, this recipe is naturally gluten-free as long as you use a gluten-free mayonnaise. Always check labels if you have concerns.
Final Thoughts
Honestly, the Deviled Eggs Deluxe Recipe is a staple I keep coming back to because it’s just that good—creamy, crunchy, mildly spicy, and so nostalgic with a little extra pizzazz. Making them feels special yet effortless, and sharing them with friends makes any gathering that much better. Give it a try next time you want to wow your guests or enjoy a tasty snack—you’ll be so glad you did!
Print
Deviled Eggs Deluxe Recipe
- Prep Time: 25 minutes
- Cook Time: 20 minutes
- Total Time: 45 minutes
- Yield: 6 servings
- Category: Appetizer
- Method: Stovetop
- Cuisine: American
Description
Deviled Eggs Deluxe is a classic appetizer perfect for any gathering, featuring hard-boiled eggs stuffed with a creamy, tangy filling enhanced by celery, sweet onion, and a dash of Tabasco for a subtle kick. Garnished with paprika, these deviled eggs are both visually appealing and full of flavor.
Ingredients
Eggs
- 6 large eggs
Filling
- 1/4 cup very finely chopped celery
- 1/4 cup very finely chopped sweet onion
- 1/4 cup mayonnaise (low fat is okay, or more to taste)
- salt to taste
- dash of Tabasco sauce, or more to taste
Garnish
- paprika for garnish
Instructions
- Boil the eggs: Place the eggs in a medium saucepan and cover with cold water. Bring the water to a boil and immediately remove from heat. Cover the pan and let the eggs stand in the hot water for 15 minutes to cook through.
- Cool and peel: Remove the eggs from the hot water and cool them under cold running water or in an ice bath. Once cool, carefully peel the shells off the eggs.
- Prepare the filling: Slice the eggs in half lengthwise and carefully remove the yolks. Place the yolks in a medium bowl and mash them together with the finely chopped celery, sweet onion, mayonnaise, salt, and a dash of Tabasco sauce until well combined and creamy.
- Fill the egg whites: Spoon or pipe the yolk mixture into the hollowed-out egg white halves. To achieve a decorative look, use an icing bag with a wide tip so the chunky filling passes through smoothly.
- Garnish and chill: Sprinkle the filled eggs with paprika for color and flavor. Cover the deviled eggs and chill them in the refrigerator until ready to serve, about 20 minutes.
Notes
- Use a brand of mayonnaise that is certified gluten-free if preparing this recipe for a gluten-free diet.
- For easier peeling, use eggs that are a few days old rather than very fresh eggs.
- Adjust the level of Tabasco or other hot sauce to your taste preference.
- To save time, eggs can be boiled in advance and stored peeled in the refrigerator for up to 2 days before preparing.

