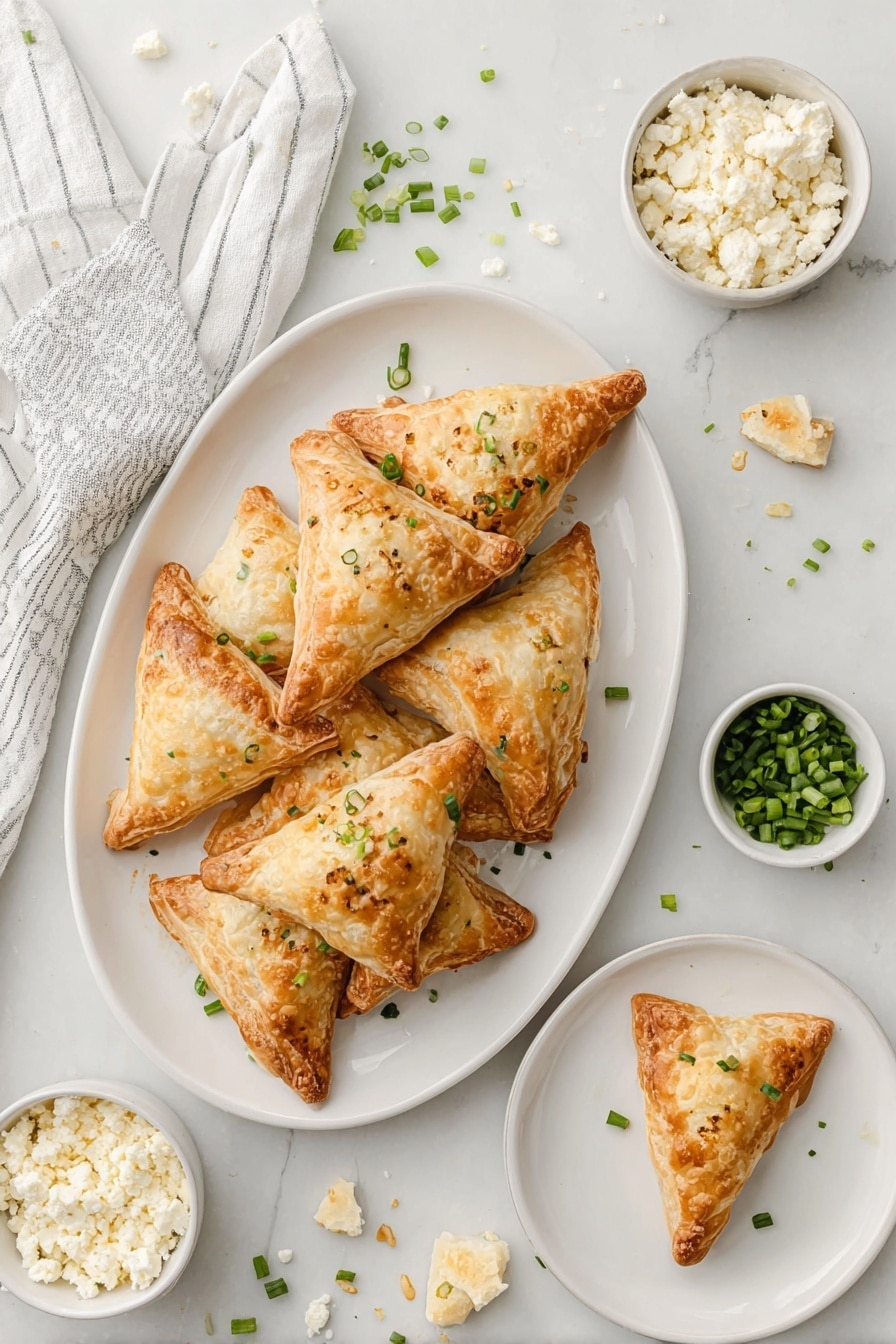
If you’re on the hunt for a delicious snack or an easy appetizer that’s downright irresistible, then you absolutely have to try this Cheese Pockets Recipe. These flaky, golden triangles filled with a savory feta and green onion mix always disappear fast at my gatherings. Once you get the hang of making them, I promise you’ll want to whip these up again and again — they’re elegant enough for company but simple enough for a weeknight treat.
Why You’ll Love This Recipe
- Effortless Gourmet: Ready in under 40 minutes with just a handful of ingredients.
- Flaky & Flavorful: Puffy pastry crisps beautifully around a tangy, creamy feta filling.
- Perfect For Any Occasion: From casual snacks to party appetizers, these pockets steal the show.
- Customizable: Easy to adapt with your favorite cheeses or herbs if feta isn’t your thing.
Ingredients & Why They Work
Each ingredient in this cheese pockets recipe plays a key role to bring that perfect balance of flaky, savory, and fresh flavors. Trust me, the puff pastry is the star that makes this easy recipe shine, while the feta adds that salty tang that keeps you coming back for more.
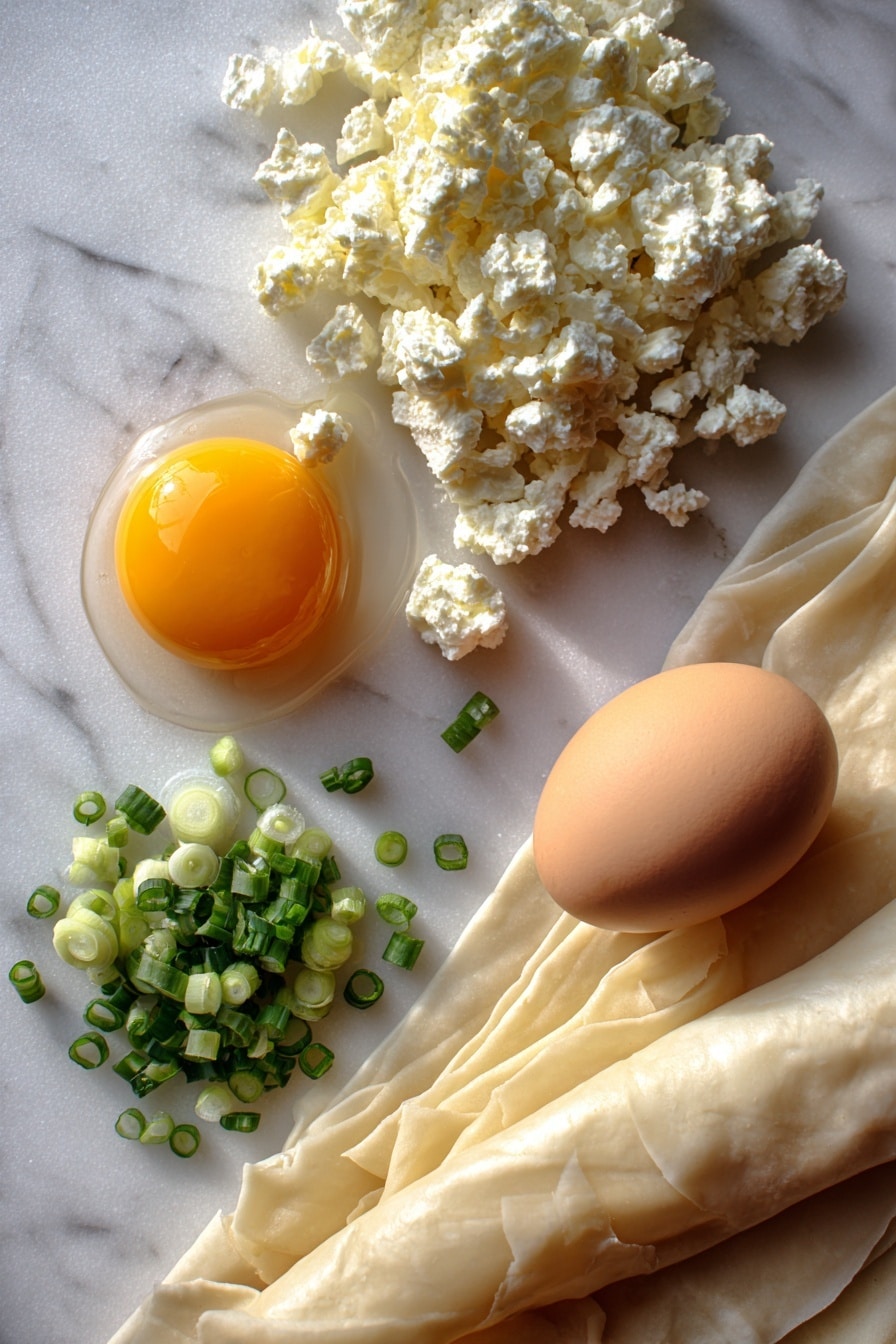
- Feta cheese: Crumbled to fill the pockets with tangy creaminess — be sure to drain excess moisture to avoid soggy bottoms.
- Green onions: Finely chopped to add freshness and a subtle onion bite without overpowering the feta.
- Egg (whole and yolk): The whole egg binds the filling together, while the egg yolk wash ensures a gorgeous golden crust.
- Frozen puff pastry: Your shortcut to perfect, flaky dough — thaw gently and roll lightly for the best texture.
Note: Exact ingredients and measurements are listed in the recipe card below.
Make It Your Way
One of the reasons I love this cheese pockets recipe is how easy it is to personalize. Whether you want to amp up the herbs, change the cheese, or sneak in some extras, it’s your kitchen so make these pockets your own!
- Variation: I like swapping feta for sharp cheddar and adding a sprinkle of smoked paprika for a smoky twist — it’s a fan favorite at my house.
- Herb Boost: Fresh dill, parsley, or even mint mix beautifully with feta if you want a vibrant herb flavor.
- Vegetable Add-ins: Sautéed spinach or finely chopped roasted red peppers add color and nutrients without messing up the filling’s texture.
- Dietary Adjustments: Using gluten-free puff pastry means gluten-sensitive folks won’t miss out on these pockets.
Step-by-Step: How I Make Cheese Pockets Recipe
Step 1: Preheat and Prep Your Filling
Start by preheating your oven to 375°F — this temp crisps the pastry perfectly without rushing the filling. In a small bowl, combine your crumbled feta, finely chopped green onions, and the lightly beaten egg. The egg helps the filling stick together as you fold, so don’t skip it! Give everything a good mix, and resist the urge to over-mix — you want the feta chunky for that lovely texture inside.
Step 2: Cut and Fill the Pastry Squares
Roll out the thawed puff pastry just a touch to smooth it — it shouldn’t be too thin or it won’t support the filling. Cut into twelve 3-inch squares; I find a pizza cutter makes this quick and clean. Place a heaping tablespoon of your feta mixture in the center of each square. You’re aiming for a nice mound without going overboard — too much filling can make sealing tricky.
Step 3: Seal and Brush for Golden Goodness
Lightly moisten the edges of each pastry square with water, then fold over to make a triangle. Press down firmly with a fork along the edges — this not only seals the pockets but also creates a charming ridged pattern. Don’t skip the egg yolk wash here; brushing it on with a teaspoon of water gives your cheese pockets that irresistible golden sheen as they bake.
Step 4: Bake to Flaky Perfection
Arrange your pockets on a baking sheet lined with parchment to prevent sticking. Bake for a solid 20 minutes until they’re puffed and golden brown. Patience pays off here — opening the oven too early can cause them to deflate. Once done, let them cool just a bit so the filling sets but don’t wait too long; they’re best enjoyed warm or at room temp.
Pro Tips for Making Cheese Pockets Recipe
- Don’t Overload Filling: Keeping the filling portion reasonable helps avoid leaks and ensures perfectly sealed pockets.
- Thaw Pastry Properly: Don’t rush defrosting your puff pastry — slow thawing in the fridge prevents it from becoming too sticky or tough to handle.
- Use Cold Ingredients: Cold feta and egg mixture work better within the pastry, keeping it from getting soggy before baking.
- Seal Like a Pro: Use a fork to crimp edges instead of your fingers—this locks the filling in tightly and adds a pretty finish.
How to Serve Cheese Pockets Recipe
Garnishes
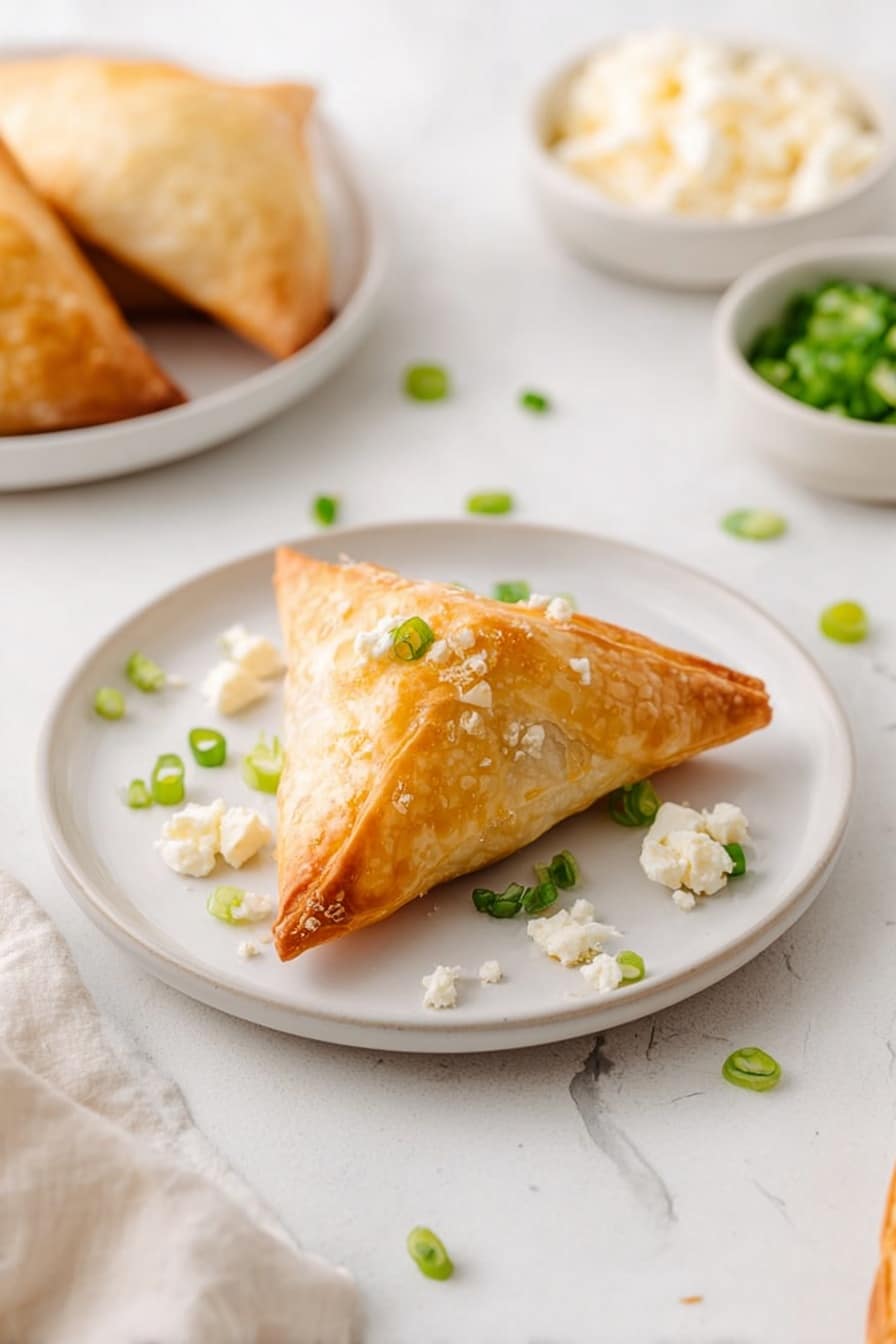
I love to sprinkle a little freshly cracked black pepper or a dusting of smoked paprika on top for extra punch. Fresh herbs like dill or parsley scattered over the cheese pockets right before serving brighten up each bite and make them look restaurant-worthy, even when served on a simple wooden board.
Side Dishes
These cheese pockets pair beautifully with a crisp green salad tossed in lemon vinaigrette, or even a bowl of tomato soup for dipping. For more substantial meals, I serve them alongside roasted vegetables or a Mediterranean grain salad for a satisfying spread.
Creative Ways to Present
For parties, I like arranging these pockets in a circular pattern on a large platter with small bowls of tzatziki or roasted red pepper dip in the center. You can also skewer a few with a toothpick alongside olives and cherry tomatoes to create mini Greek-inspired bites that everyone loves.
Make Ahead and Storage
Storing Leftovers
Any leftovers you have can be stored in an airtight container in the fridge for up to 3 days. I find they’re still delicious reheated, although the pastry loses a bit of crispness — so just reheat them in the oven or toaster oven rather than the microwave when possible.
Freezing
Here’s a little secret: you can freeze these cheese pockets before baking! Arrange the sealed pockets on a tray, freeze until firm, then transfer to a zip-top freezer bag. When you’re ready, bake them straight from frozen, adding a few extra minutes. It’s perfect for quick snacks on busy days.
Reheating
To reheat, pop them in a preheated 350°F oven for about 8–10 minutes. This restores their flaky texture much better than the microwave. If you’re in a pinch, a quick 20-second zap in the microwave can work, but expect the pockets to be a bit softer.
FAQs
-
Can I use other cheeses instead of feta in this Cheese Pockets Recipe?
Absolutely! While feta gives that salty, tangy kick, you can try mozzarella for a milder taste, goat cheese for creaminess, or even a sharp cheddar for a richer flavor. Just keep in mind the moisture content—dry or crumbly cheeses work best to avoid sogginess.
-
How do I prevent the pastry from getting soggy?
Drain the feta cheese well before mixing, keep the filling portions modest, and make sure to seal the pockets tightly. Also, baking them on parchment paper in a hot oven helps the bottom crisp up nicely.
-
Can I prepare these cheese pockets ahead of time?
Yes! You can assemble the pockets and refrigerate them for a few hours before baking. For longer storage, freeze them unbaked and bake from frozen when you’re ready.
-
What’s the best way to reheat cheese pockets?
Reheating in the oven or toaster oven at around 350°F helps restore crispiness without drying out the filling, usually taking about 8 to 10 minutes.
Final Thoughts
This Cheese Pockets Recipe holds a special place in my recipe box because it’s such a crowd-pleaser with minimal fuss. I love sharing them with friends over coffee or serving them at casual get-togethers — no one ever believes how easy they are to make! Give this recipe a try, and I’m confident it’ll become one of your go-to snacks too. Trust me, flaky layers filled with that cheesy goodness just can’t be beat.
Print
Cheese Pockets Recipe
- Prep Time: 20 minutes
- Cook Time: 20 minutes
- Total Time: 40 minutes
- Yield: 12 cheese pockets
- Category: Appetizer
- Method: Baking
- Cuisine: Mediterranean
- Diet: Vegetarian
Description
Delicious and flaky cheese pockets filled with a savory blend of feta cheese and green onions, encased in golden puff pastry. Perfect as an appetizer or snack, these cheese pockets are easy to prepare and bake to crispy perfection.
Ingredients
Filling
- 8 ounces crumbled feta cheese
- 3 tablespoons finely chopped green onions
- 1 large egg, lightly beaten
Pastry
- One 17.3-ounce package frozen puff pastry, thawed and rolled out slightly to smooth
- 1 large egg yolk, beaten with 1 teaspoon water
Instructions
- Preheat Oven: Preheat the oven to 375°F to ensure it reaches the right temperature for baking the cheese pockets evenly.
- Prepare Filling: In a small bowl, combine the crumbled feta cheese, finely chopped green onions, and the lightly beaten egg. Mix well to create a cohesive filling.
- Cut Pastry: Cut the thawed puff pastry into twelve 3-inch squares, ensuring uniform size for even baking.
- Assemble Pockets: Place a mounded tablespoon of the feta mixture in the center of each pastry square. Moisten the edges with water to help seal the pockets. Fold each square over to form a triangle and firmly press the edges together with a fork.
- Brush with Egg Wash: Lightly brush the tops of the sealed pastries with the beaten egg yolk mixed with water to give a golden, glossy finish during baking.
- Bake: Arrange the pastries on a baking sheet and bake in the preheated oven for 20 minutes, or until they are puffed and golden brown.
- Serve: Remove from oven and serve warm or at room temperature for best flavor and texture.
Notes
- Make sure the puff pastry is fully thawed before rolling and cutting to prevent tearing.
- You can substitute green onions with chives or finely chopped shallots for a different onion flavor.
- For easier sealing, chill the filled pastries briefly before baking.
- Serve these cheese pockets with a side of marinara sauce or a fresh salad for a complete appetizer.

